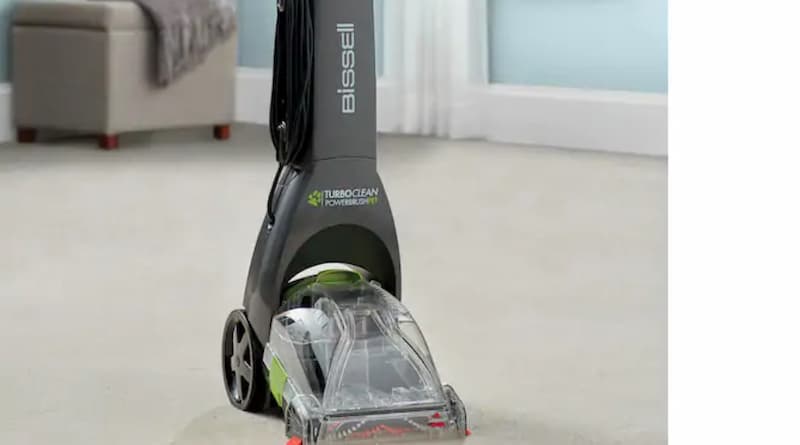
Bissell has been making cleaning products for over 140 years. Like other vacuum cleaners, Bissell cleans floors and removes dirt and dust from floors such as hardwood floors, tile floors, carpets, etc.
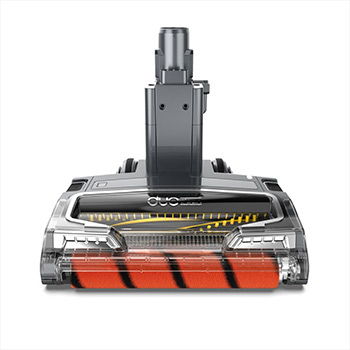
In your vacuum cleaner, the main role of cleaning the floor is its brush roller; It agitates the carpet to remove dirt from the depths.
There is a brush belt that transfers its motion to the rotating brush bar. Sometimes a failure or severe fracture of the brush belt prevents you from rotating the vacuum brush rod.
In addition, there may be many reasons why the Bissell CrossWave brush roller does not rotate.
Your machine will display three steady red lights to let you know there is a problem with the brush roll.
This article will discuss some common problems you may encounter with your Bissell vacuum cleaner.
What Cause Your Bissell Vacuum Brush Not Rotating
The Bissell vacuum cleaner’s inability to rotate is a sign of several problems, including:
- Dirty mechanic
- Overloaded filth containers
- Loose connection
In most cases, you can fix a Bissell vacuum cleaner at home with little or no tools.
How to Fix a Bissell Vacuum Brush Not Spinning / Rotating
Step 1: Unplug the Bissell CrossWave vacuum cleaner or press the hard floor button to turn it off and the red light should go off.
Step 2: The next workshop is on the handle, you must release the lower-left handle of the Bissell S-wave vacuum cleaner. Then, on the floor below the handle, flip the vacuum so that the bottom of the head is facing up.
Step 3: Remove the entry plate at the lowest point of the cleaning head. The version of Bissell that you have will determine how the board is removed. Suppose that if your Bissell CrossWave cleaner head access plate has a screw, then you can use a crosshead screwdriver.
Otherwise, if the Bissell version of the access plate is held in place by plastic, simply press down the clamps on both sides of the plate. After removing the board, set it aside.
Step 4: In this step, if the antique tape is still wrapped around the brush roll, you must pull the brush roll and remove it. Then remove the belt from the motor shaft to the left of the cleaning head.
Step 5: Check the air inlet to the right of the cleaning head to make sure it is not clogged with dirt and other particles. You need to clean the power socket to prevent the discovery of hair strands or large debris that may cause the machine to stop working. In addition, check the ends of brush rollers and brush gears for hair or debris.
Step 6: Wrap the new belt around the motor shaft and the belt around the brush roller. Then on both sides of the cleaning head, replace the brush rollers into the groove.
Carefully rotate the brush roller, which is located in the groove of the Bissell shear head.
To ensure smooth rotation and successful belt replacement, turn the brush roller by hand.
Step 7: Finally, replace the cleaning head access plate. Also, using a crosshead screwdriver, turn the screws to reposition the plate in the correct position.
How To Maintain Your Bissell Vacuum
Vacuum levels deteriorate over time, but there are steps you can take to extend its service life and keep the vacuum in tip-top condition.
One of the main ways to maintain Bissell equipment is to change the vacuum bag frequently. The manufacturer recommends closing the bag before it is full. In general, it’s best to replace the garbage when it’s half full.
People vacuuming dusty areas should change bags more frequently. Similarly, those who clean a lot of pet hair should replace their vacuum pack regularly. Regular maintenance can prevent roller clogging.
Final thoughts
Results may vary depending on the type of vacuum cleaner. Using the machine according to the user’s manual can prevent further problems after the repair.