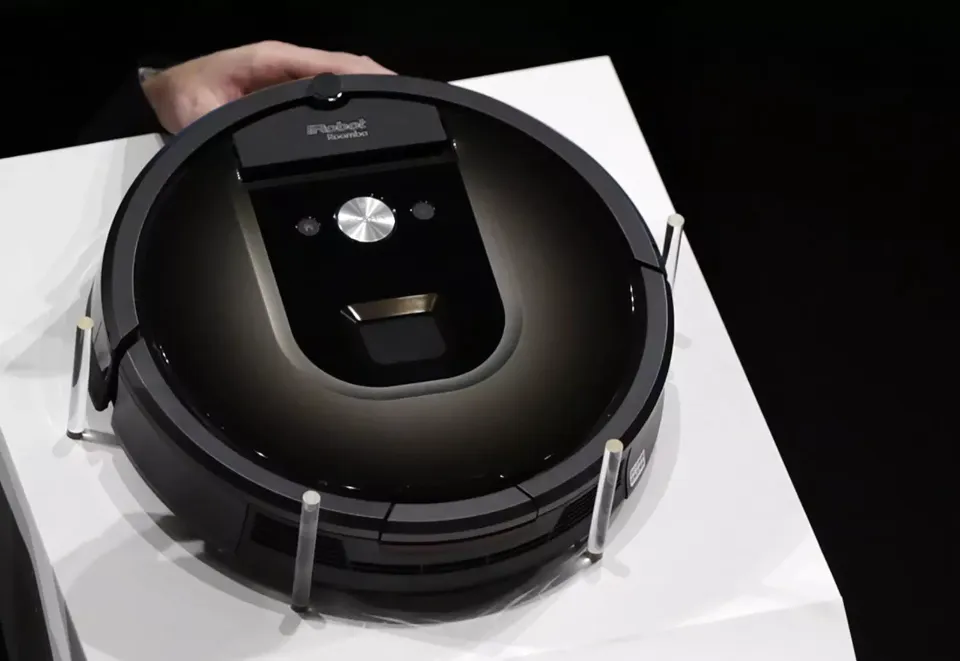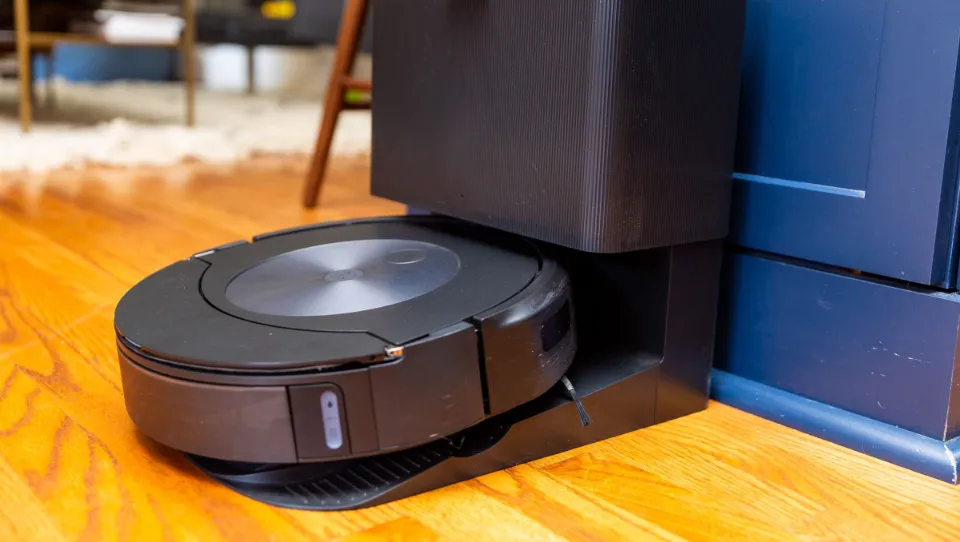
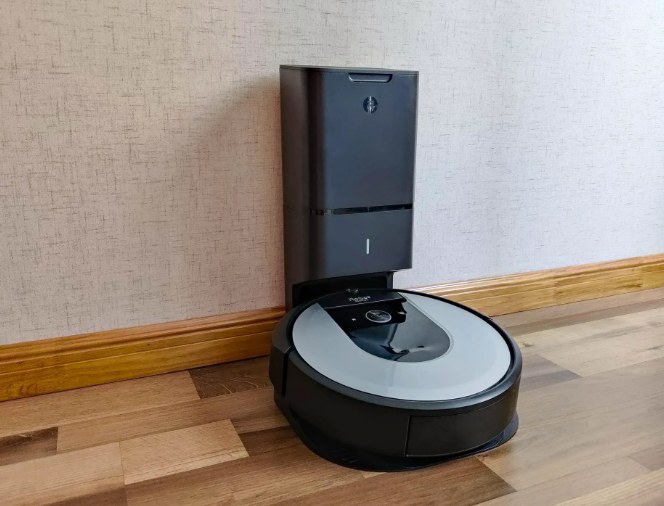
While you’re elsewhere doing something else, Roomba sweeps up pet hair, dirt, and other debris from your floor. You can buy an optional charging station called the Home Base to keep the vacuum cleaner’s rechargeable battery charged. The flying-saucer-shaped vacuum cleaner runs on this battery. When Roomba won’t charge on the base, potential issues include dust on the contacts, the wrong kind of battery, or issues with the power source. You’ll receive an error code informing you of the issue, and you can typically fix it without too much difficulty.
How Should You Proceed If Your Roomba Won’t Charge?
Your Roomba machine series is the first thing you need to know. Only the Roombas 500, 600, 700, and 800 can use the following solution.
If you recently purchased a new robot that has never been turned on, the problem may have occurred during shipping. If the battery is shifted, you must first determine whether it is so and then immediately remove it and replace it in the correct location.
As I mentioned earlier, the Home Base is required for charging. Plug it in and watch the device’s verification light until it begins to blink once every four seconds, or occasionally until it illuminates solidly for four seconds before going out.
A Roomba’s Battery Can It Be Changed?
Of course, you can, there are lots of replacement batteries for Roombas on the market today. However, not all batteries are created equal; in fact, some even shorten the life of your robot.
Undoubtedly, if properly cared for, the original battery can last for a number of cycles before it actually requires replacement.
Below, I’ve come up with a list of battery maintenance tips that helps you know how to extend battery life making Roomba always deliver peak performances:
- Use only iRobot battery
- Use Roomba frequently – since the robot is powered by a rechargeable battery, this means it’ll give more cleaning cycles if constantly utilized
- Keep Roomba plugged in when not in use – without the Home Base, you can plug Roomba into the charger for constantly charging
- Charge and store Roomba in a cool, dry place
- Always clean the device so that it won’t get clogged with hair or debris
If your Roomba seems to be working harder than usual, check it out right away. If you don’t let it rest, the battery will run out more quickly.
How To Fix Roomba Not Charging
Make Sure The Base Has Power
The power light ought to be on when the Home Base is plugged in but the Roomba isn’t charging. Check the outlet to see if it is powered if it isn’t. Maybe you used a GFCI outlet that tripped when you plugged the charger in. Another possibility is that the circuit breaker tripped for some reason. Verify that the plug is firmly inserted into the outlet to determine whether it is powered. If you want to make sure the base is operating, you might need to plug it into another outlet.
Know Your Error Code
There won’t be any lights on the Roomba when it is fully charged. To save energy, these are purposefully turned off. However, if a problem occurs, the device will say “uh-oh,” and a troubleshooting light will blink. You can recognize a problem by counting how many times it blinks in a row. The gadget will speak the code as well. There are eight of these error codes. By launching the iRobot app on your PC or mobile device, you can get assistance with the majority of these issues.
Code 1: When the base station is unable to make contact with the battery, a Code 1 error occurs. This might simply be a result of your failure to remove the yellow pull tab before docking the Roomba. Incorrect battery installation could also be the cause. Reinstall it after removing it first.
Codes 6 and 7: The Roomba battery will not charge if it is too hot or cold. If the battery is too warm, a Code 6 warning will sound, and if it is too cold or too warm, a Code 7 warning will sound. Take the Roomba out of the base and let it sit at room temperature for an hour before attempting to charge it once more.
Codes 2, 3, 5, 8, and 9: Five of the error codes point to a problem with the battery itself or a communication issue between the base and the battery. The contacts on the base and the Roomba can be cleaned to potentially fix these issues. After unplugging the Home Base, perform this with a dry cloth or a cloth dampened with alcohol.
Try A Hard Reboot
The Roomba’s processors’ corrupted memory can cause charging errors, which can be fixed by restarting the machine. Hold the CLEAN button down for 10 seconds to accomplish this. When each indicator light appears, release the button. Then the appliance will restart. Schedules and other settings won’t be saved, so you’ll need to re-program them.
Be Patient When Charging A New Battery
You must first awaken a new lithium-ion battery before it can function. To do this with the base station, place it on a flat surface, plug it in, and make sure the indicator light is on. Wait a few seconds for the battery to wake up before placing the Roomba on the base station. When that occurs, Roomba’s battery indicator will start flashing and the base station’s light will go out. After a minute, it will also burn out.
The charge status is displayed by the CLEAN button. Red indicates that the battery is empty, amber flashes to indicate that charging is happening, and green indicates that charging is finished. The Roomba periodically enters the 16-hour charging mode to extend the battery’s life, as indicated by a rapidly pulsing amber light.
How Can I Tell If My Roomba Is Charging?
The indicator light on your Roomba can let you know if it’s charging properly. Once it has finished cleaning, Roomba goes back to its home base to rest.
When you observe a solid green light shining for about 4 seconds on the Home Base power button, the device is charging. Additionally, you would notice the battery indicator pulsing.
If a tone is heard after it docks successfully, it means that Roomba has finished its cleaning cycle. If not, it means that the battery is running low and that it needs to recharge in order to finish cleaning. The Roomba’s indicator light can also be used to check the battery level.
Should The Green Light Be On While Roomba Is Charging?
When charging, the green light indicator doesn’t always remain on. A green light will flash on the power indicator of the Home Base for approximately 4 seconds once Roomba has returned to it to recharge.
The device’s battery indicator will also start to pulse. Your Roomba vacuum conserves power while it charges in this way.
Conclusion
Your Roomba may not be charging for a variety of reasons, but the majority of these problems are easily fixed with little effort and expense. Dealing with any issues you might have with your Roomba will be much simpler if you know what to look for.
Learn More about iRobot Vacuum
How To Program Roomba Vacuum In Easy Methods? – Pet Hair Vacuums
How to Know If Roomba Is Charging – Beginner’s Guide – Pet Hair Vacuums
How To Turn Off Roomba i7 To Save Battery With Simple Ways? – Pet Hair Vacuums
Roomba Comparison 2022 – Difference Between The Roombas – Pet Hair Vacuums
How to Connect Roomba to WiFi – Simple & Quick Guide – Pet Hair Vacuums
Roomba Not Charging: How to Fix It (2022) – Pet Hair Vacuums
How To Empty iRobot Roomba Bag – Fast & Simple Ways – Pet Hair Vacuums
Why Your Roomba Keeps Cleaning the Same Area – Possible Reasons – Pet Hair Vacuums
How to Clean Roomba Wheels – Simple Cleaning Guide – Pet Hair Vacuums
How Often To Change Roomba Filter – What You Should Know – Pet Hair Vacuums
How Do I Setup Mac Address For Roomba With Easy Steps – Pet Hair Vacuums
How to Reboot and Reset a Roomba – Simple Guide For You! – Pet Hair Vacuums
How Does a Roomba Work on Carpet – Everything You Should Know – Pet Hair Vacuums
How to Empty Roomba Vacuum – Tips to Make It Clean – Pet Hair Vacuums
How Long To Charge Roomba – Know More About Roomba’s Battery – Pet Hair Vacuums
How To Clean Your Roomba Filter With Simple Ways – Pet Hair Vacuums
Are Roombas Worth It – Should I Buy Roomba Vacuum? – Pet Hair Vacuums
How To Get Roomba To Remap a Room – Find The Simple Ways – Pet Hair Vacuums